

How to make product demo videos without recording yourself
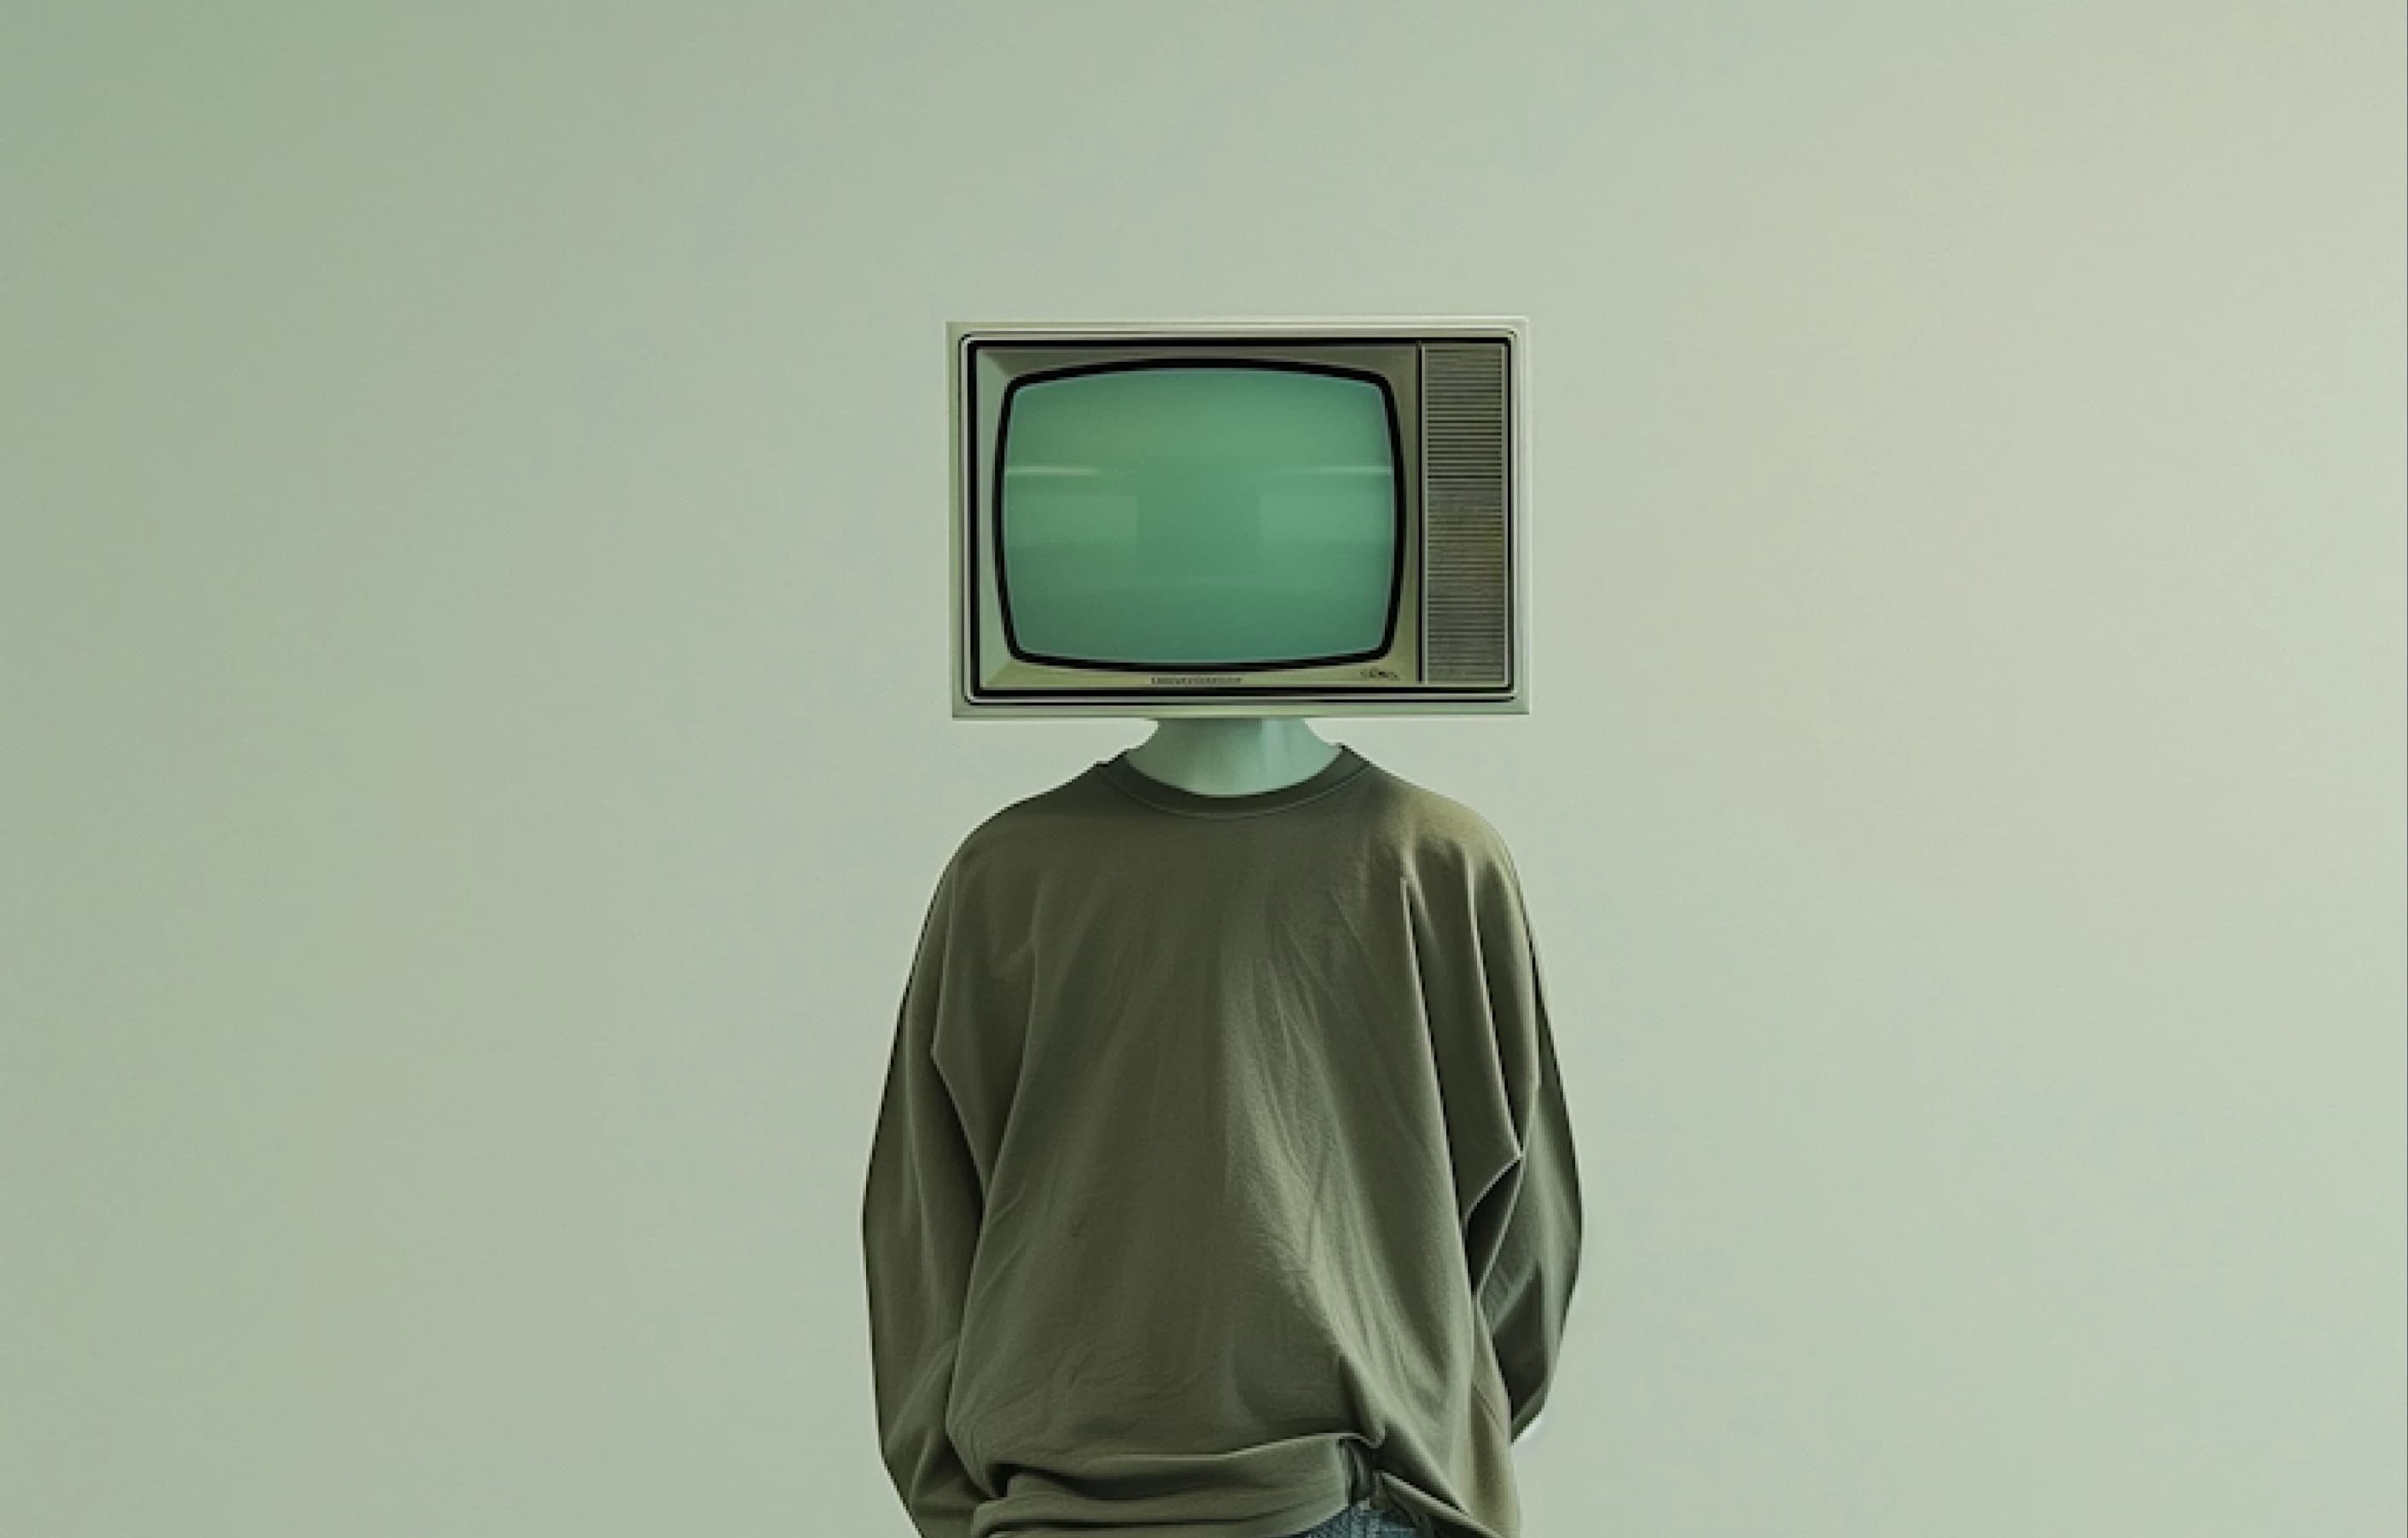
A great product demo video is one of the highest-leverage assets a team can own. It shortens sales cycles, deflects support tickets, and turns a confused trial user into an activated customer. And yet most people never make one, for a reason that has nothing to do with the product: they don't want to be on camera, they hate the sound of their own recorded voice, or they simply can't face the endless re-shoots every time a button moves.
The good news is that you no longer have to choose between “polished” and “on camera.” You can make a professional product demo video from nothing more than a rough screen recording, and have it narrated in a voice and face that sound like you, without ever opening a webcam.
Why demo videos usually never get made
The traditional demo-video workflow is a small production. You write a script, set up a mic, do a screen recording, re-record the three parts you fumbled, drop it into an editor, cut the dead air, add zooms and captions, export, and realize the product changed while you were editing. It's hours of work for a two-minute video, and the second the UI updates, the whole thing is stale.
For most teams the honest math is: the demo is worth making, but not worth that. So it never happens, or it happens once and then rots.
The camera-free workflow, in three steps
The modern approach collapses that entire production into a repeatable pipeline. Here is the exact sequence we built Super.degree around.
1. Clone your voice once
Instead of re-recording narration for every video, you provide a short voice sample one time. From then on, your narration is generated in a voice that sounds like you, from text. Fix a typo in the script and the audio updates, no re-recording, no matching your energy from a week ago. You can add a talking-head avatar too, so a version of your face presents the demo while you stay off camera entirely.
2. Record your screen, roughly
Just walk through the product. Don't worry about pauses, stumbles, or dead space, that's exactly the raw material the tool expects. The messier reality of a real screen capture is the starting point, not a failure.
3. Let the edit happen automatically
This is where the hours disappear. Zooms into the part of the screen that matters, tightened pacing, trimmed silences, and styled captions are generated automatically, and you keep full control to fine-tune anything. You get a clean, branded product demo in minutes rather than an afternoon.
What “professional” actually requires
A demo reads as professional when a few specific things are handled well. Worth knowing what they are, whether you use a tool or not:
- Purposeful zooms. The viewer's eye should be led to the exact control being discussed, not left to hunt across a full-screen UI.
- Tight pacing. Silences and fumbles get cut. Every second should move the story forward.
- Clean narration. A consistent, clear voice beats an anxious live take every time.
- Readable captions. Most demos are watched on mute in a feed or a Slack channel. Styled captions aren't optional anymore.
- On-brand framing. Backgrounds, intros, outros, and a consistent look make a two-minute clip feel like it came from a real team.
Keeping the demo alive
The quiet advantage of a script-and-screen-recording workflow is maintainability. When the product changes, you re-record the screen and regenerate, the narration comes from text, so there's no need to reconstruct your delivery from scratch. Save the project as a template and your next demo starts on brand instead of from a blank timeline. A demo video stops being a one-time art project and becomes something you can actually keep current.
You were never avoiding demo videos because they weren't worth it. You were avoiding the camera and the editing. Remove those two, and there's no reason left not to ship one.
Want the mechanics of the underlying edit? Read how to turn a screen recording into a polished training video, or see the plans to get started.